
Menyambungkan bekas penggali dengan selamat adalah perkara penting tidak hanya untuk menyelesaikan kerja dengan cekap, tetapi juga untuk mengekalkan keselamatan dan memastikan peralatan anda beroperasi dengan betul. Jika bekas penggali disambungkan secara salah atau longgar, ia boleh menyebabkan kemalangan atau penundaan yang mahal. Dengan mengikuti prosedur yang betul, anda akan melihat betapa mudahnya untuk dengan selamat menyambungkan bekas penggali.
Persediaan untuk Menyambungkan Bekas Penggali
Sebelum anda terlibat dalam menyambungkan bekas penggali, ia sangat penting untuk membuat persediaan yang betul. Persediaan yang sedikit dapat membantu memastikan proses berjalan lancar dan selamat. Mari kita bahagikan langkah-langkahnya satu per satu.
Langkah-langkah Keselamatan yang Perlu Dipatuhi
Keselamatan sentiasa harus datang dahulu. Mula dengan memakai peralatan pelindung yang sesuai. Topi keras, sarung tangan, kasut bertapak keluli, dan kacamat pelindung adalah mustahak. Pastikan anda bekerja di kawasan yang kosong tanpa orang awam atau halangan. Jika anda berada di tapak pembinaan, berkomunikasi dengan pasukan anda supaya semua orang mengetahui apa yang sedang berlaku.
Periksa semula sistem hidraulik penggali. Cari kebocoran atau kerosakan yang boleh menyebabkan masalah apabila anda memasang bekak penggali. Akhirnya, sentiasa ikuti panduan keselamatan pembuat bagi peralatan spesifik anda.
Alatan dan Kelengkapan yang Diperlukan
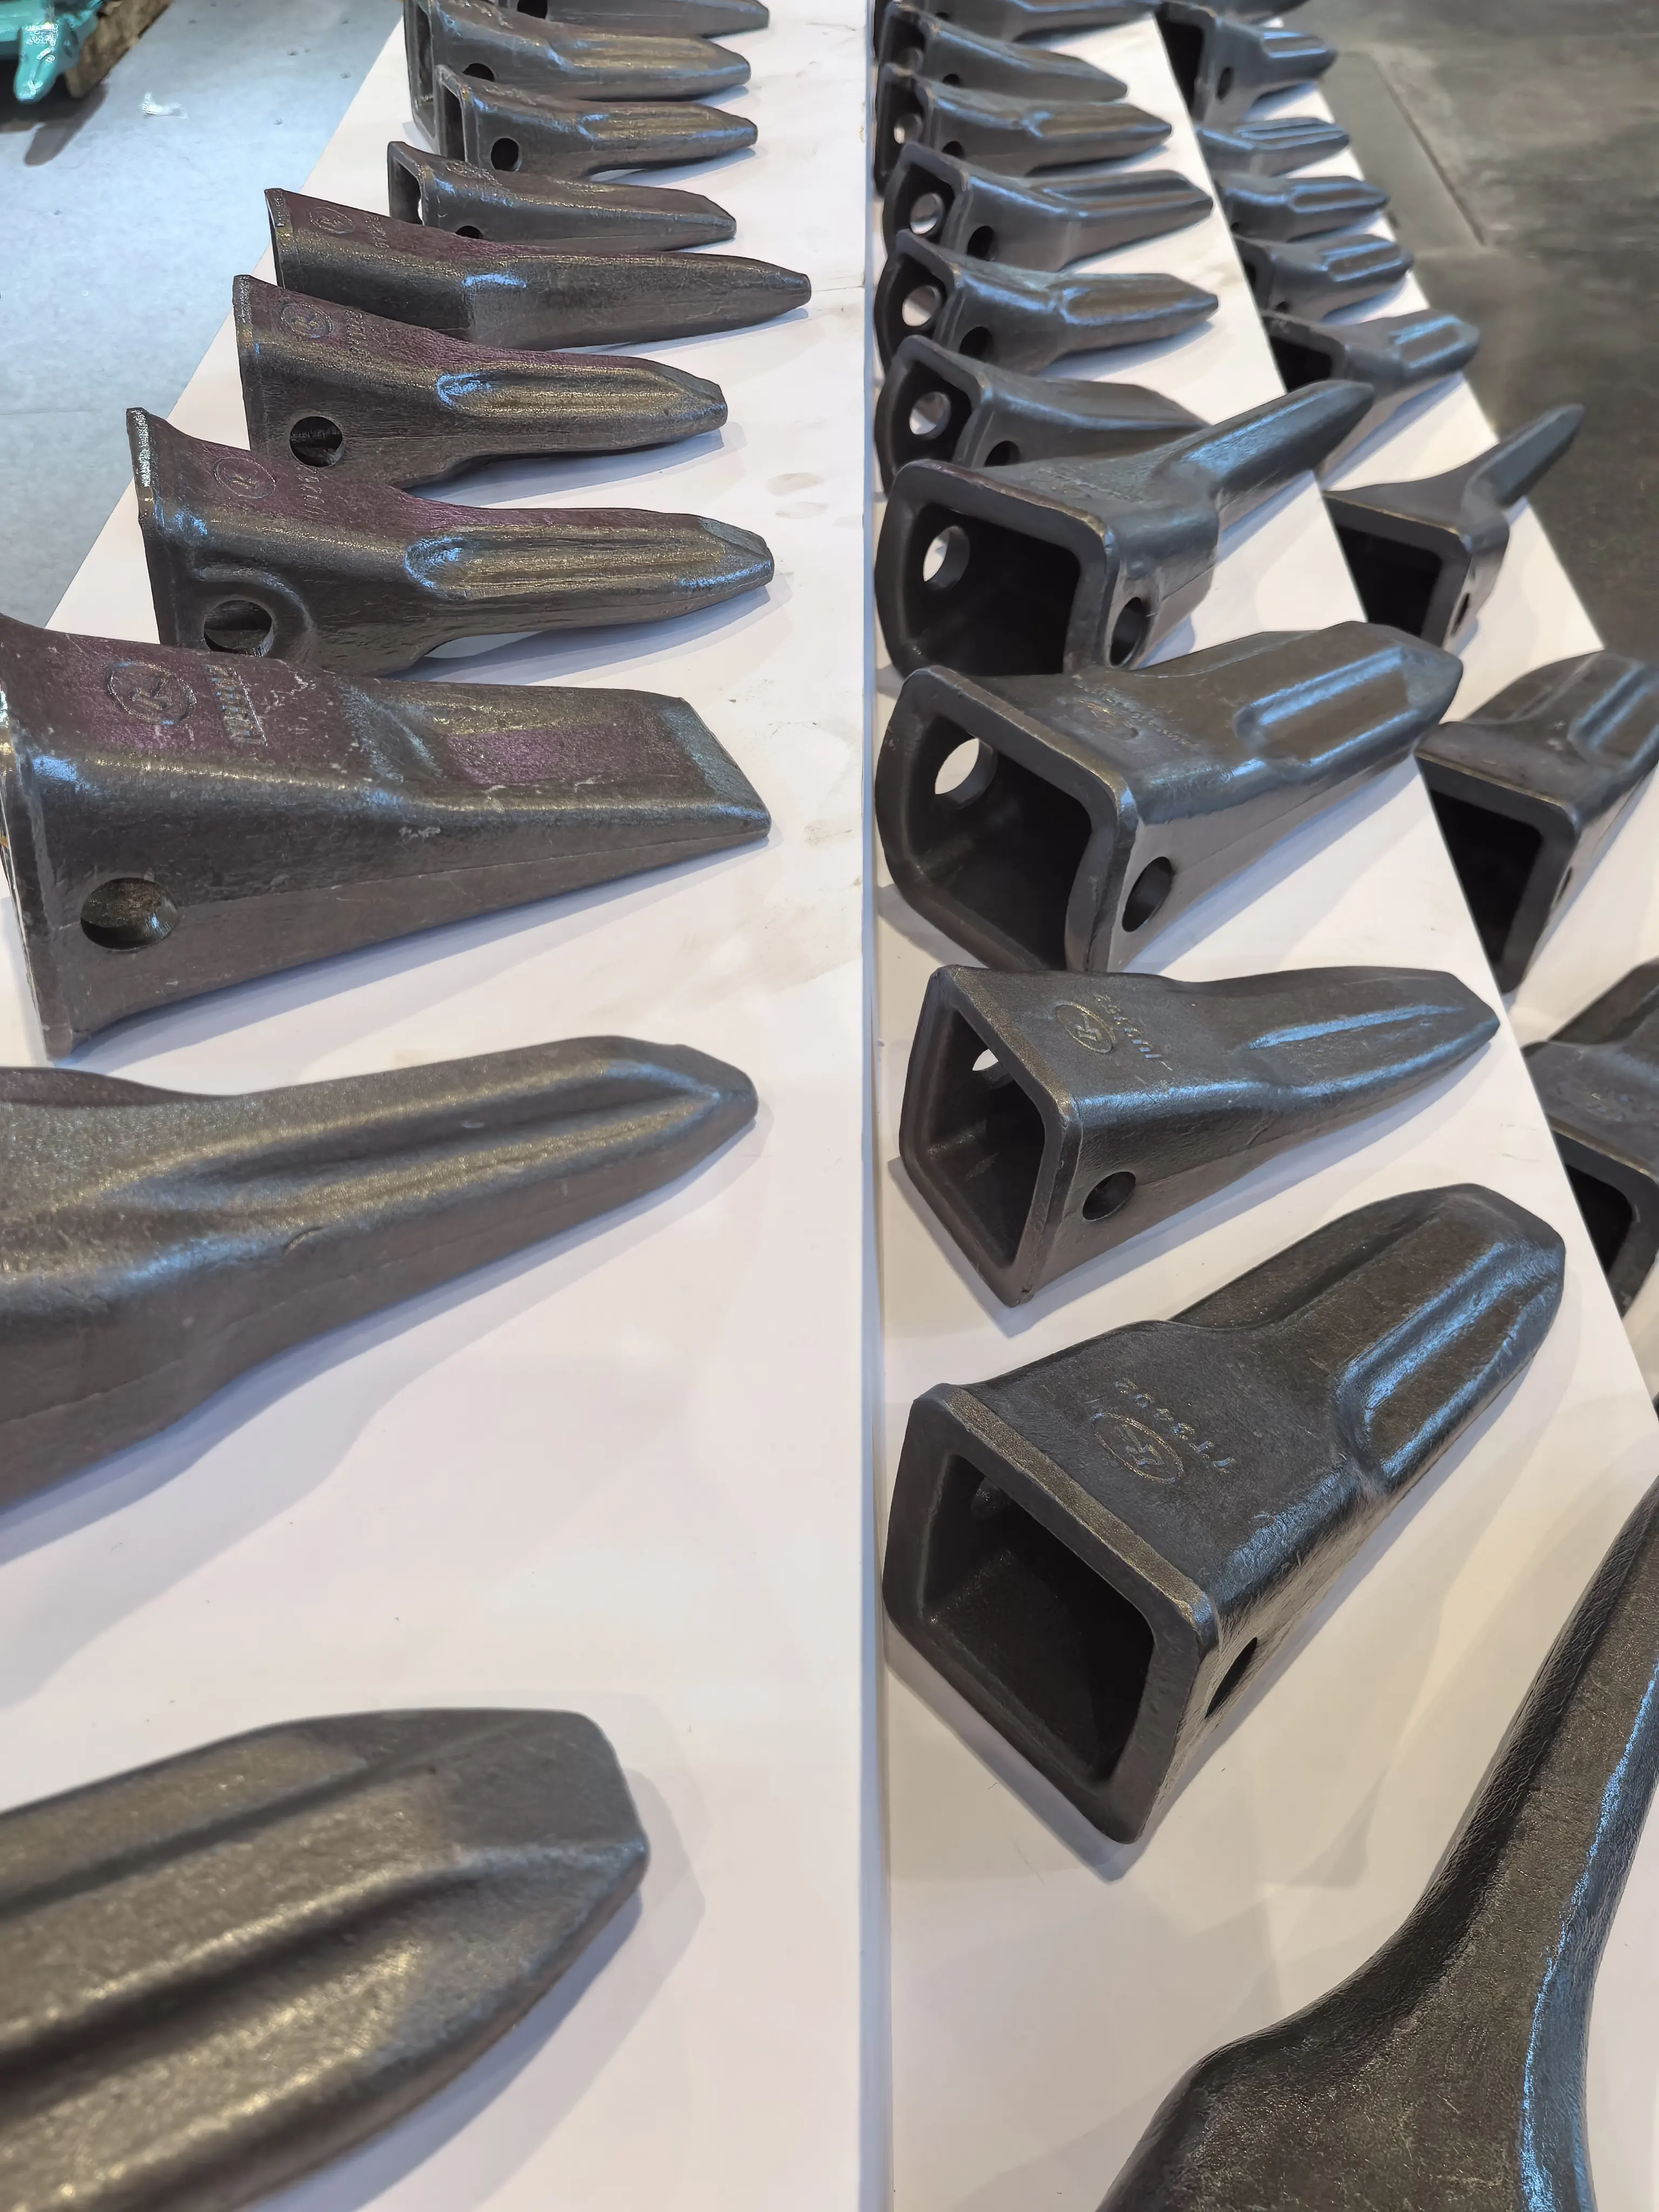
Anda tidak memerlukan banyak alat, tetapi mempunyai yang betul adalah perkara penting. Ambil pemukul pin yang kukuh, senapang lemak, dan pin yang betul untuk bekak anda. Jika penggali anda menggunakan pemberi pantas, pastikan ia serasi dengan bekak yang anda pasang. Simpan kain bersih di hampir untuk membasuh debu atau lemak dari komponen.
Menyusun Semula Penggali Dengan Betul
Penyusunan yang betul membuat kerja lebih mudah. Tengangkan penggali di atas tanah rata untuk mengelakkan ia bergerak. Turunkan boom dan tetapkan kepada ketinggian yang selesa di mana anda boleh dengan mudah menyelaras bekak. Simpan enjin berjalan pada kelajuan idle untuk mengekalkan tekanan hidraulik tanpa membebankan sistem.
Dengan mengikuti langkah-langkah ini, anda akan memastikan kejayaan apabila memasang bekak penggali.
Panduan Langkah demi Langkah untuk Menyambungkan Bak Pencong
Menjajarkan Bak dengan Pengait
Mula dengan memosisikan bak di hadapan pencong dengan teliti. Pastikan pengait bersih dan tiada kotoran. Tanah atau minyak boleh menghalang sambungan yang kukuh. Turunkan boom dan stik secara perlahan sehingga pengait berada tepat di atas titik penyambungan bak. Gunakan kawalan pencong untuk menjajarkan pengait dengan pemanjat pin pada bak. Ketepatan adalah kunci di sini—ambil masa untuk melakukannya dengan betul.
Menyekatkan Bak dengan Pin
Setelah pengait dan bak sejajar, masanya untuk menyekatkannya. Masukkan pin pemanjat melalui lubang pada kedua-dua pengait dan bak. Gunakan palu pin untuk mengetuk pin ke tempatnya dengan lembut. Pastikan mereka sepenuhnya duduk dengan baik. Jika pencong anda menggunakan pengait pantas, hidupkan mekanisme pengepakan untuk menahan pin dengan selamat.
Mengunci dan Mengujikan Sambungan
Sekarang, kunci koupler untuk menyelesaikan sambungan. Jika excavator anda mempunyai koupler hidraulik pantas, aktifkan sistem pengekalan dari kabin. Untuk koupler manual, gunakan tuas atau pin pengekalan untuk mengamankan lampiran. Setelah dikunci, uji sambungan dengan membenarkan bekas secara perlahan dari tanah. Gerakkan bekas melalui julat gerak penuhnya untuk memastikan ia terpasang dengan kukuh.
Dengan mengikuti langkah-langkah ini, anda akan berjaya memasang bekas excavator dan memastikan ia siap untuk digunakan. Latihan menjadikan sesuatu sempurna, jadi jangan risau jika ia memerlukan sedikit masa yang lebih lama pada awalnya.
Tips untuk Keselamatan dan Pemeliharaan
Memasukkan Grease ke Pins dan Komponen
Menyimpan pelubang dan komponen berlemak adalah salah satu cara termudah untuk memanjangkan umur bekas penggali anda. Anda harus melumaskan pelbagai secara rutin untuk mengurangkan geseran dan mencegah aus. Gunakan pemadam lemak untuk memohon pelumas kepada semua bahagian yang bergerak, terutamanya pelbagai yang menyambungkan bekas kepada koupler. Pastikan anda membersihkan apa-apa tanah atau lemak lama sebelum memohon lapisan baru. Ini memastikan pelumas berfungsi dengan efektif.
Mengelakkan Kesilapan Biasa
Kesilapan berlaku, tetapi anda boleh mengelakkannya dengan sedikit perhatian tambahan. Salah satu kesilapan besar adalah melupakan untuk memeriksa sama ada pelbagai telah duduk sepenuhnya. Pelbagai longgar boleh menyebabkan bekas terlepas semasa operasi. Kesilapan biasa lain adalah melewatkan langkah ujian selepas memasang bekas. Sentiasa uji sambungan itu dengan menggerakkan bekas melalui julat gerak penuhnya.
Memeriksa Pakai dan Air Mata
Pemeriksaan rutin adalah kunci untuk menjaga peralatan anda dalam keadaan terbaik. Cari tanda-tanda retak, lengkung, atau kerusakan lain pada bek dan penghubung. Beri perhatian khas kepada pino dan mekanisme kunci. Jika anda memperhatikan aus berlebihan, gantikan bahagian yang rosak segera. Mengabaikan tanda-tanda aus boleh menyebabkan masalah yang lebih besar kelak.
Dengan mengikuti tips ini, anda akan menjaga bek excavator dalam keadaan baik dan memastikan operasi yang selamat serta cekap setiap kali.
Menyambungkan bek excavator tidak perlu menjadi rumit. Ikuti langkah-langkah: siapkan, padankan, amalkan, dan uji. Sentiasa utamakan keselamatan dan teruskan penyelenggaraan. Pemeriksaan rutin dan pelumasan membantu banyak. Dengan latihan, anda akan mahir dalam proses ini. Hadapi dengan keyakinan—anda mampu melakukannya! ?